How to Make Your Own Greeting Cards with your Cricut
How many times have you had a special occasion spring up on you? And you weren't ready with a card! I know because it has happened to me so many times I can't even count.
I tried to combat this by making my greetings cards in advance.
Several of us in my family decided we were going to come together a couple of times a year and have a “Card Party”. We would gather our supplies, converge on one home, and spend the afternoon cutting, pasting, and being creative.
That went well for a few seasons. But pretty quickly we discovered we were missing something.
A way to make unique shapes out of cardstock that we could use to customize our cards.
Then I started to hear more about die cutting machines. Where you would plug in a cartridge and the machine would cut out whatever design you plugged in.
That sounded cool but there was still something missing.
I was compensated for this post. This post also contains affiliate links and I will be compensated if you make a purchase after clicking on my links.
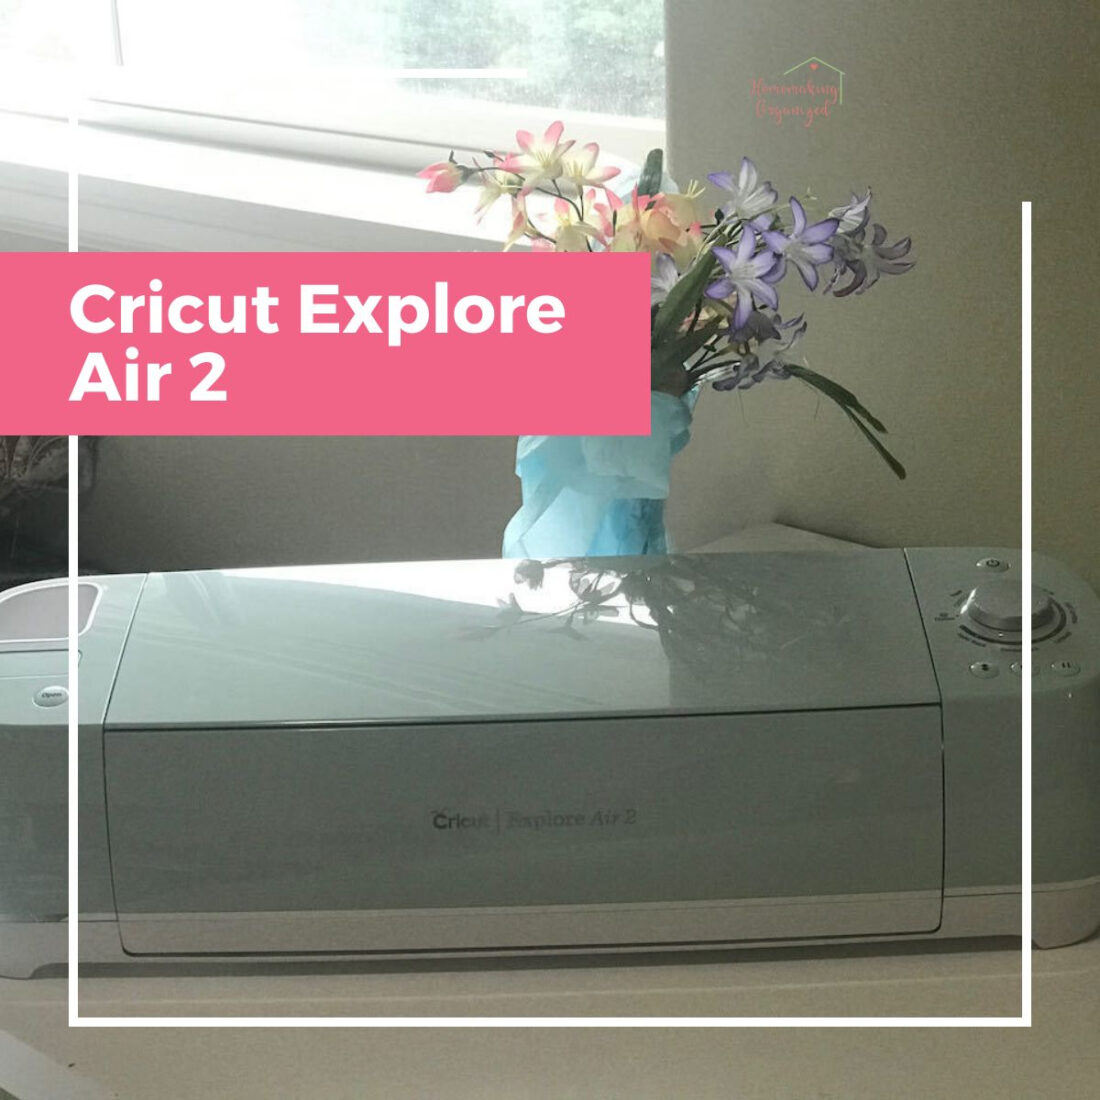
Then finally things improved and decided the Cricut Explore 2 was what we needed. I did a bit of research and decided that based on my beginner status, my needs, and my budget the Cricut Explore Air 2 would be the perfect tool to help us in our custom greeting card activity.
The Cricut Explore Air 2 ( the new Cricut Explore Air 3 coming out in June) is a machine that allows you to cut almost any design you can think of out of various materials such as cardstock (my favorite), paper, vinyl, felt and fabric. So far I've only cut out shapes from vinyl and card stock.
The Cricut Explore Air 2 is an electric machine that connects to your computer through a usb cord, or your tablet, or phone though wifi. You can also use the usb cord with your computer and some tutorials recommend that you do so.
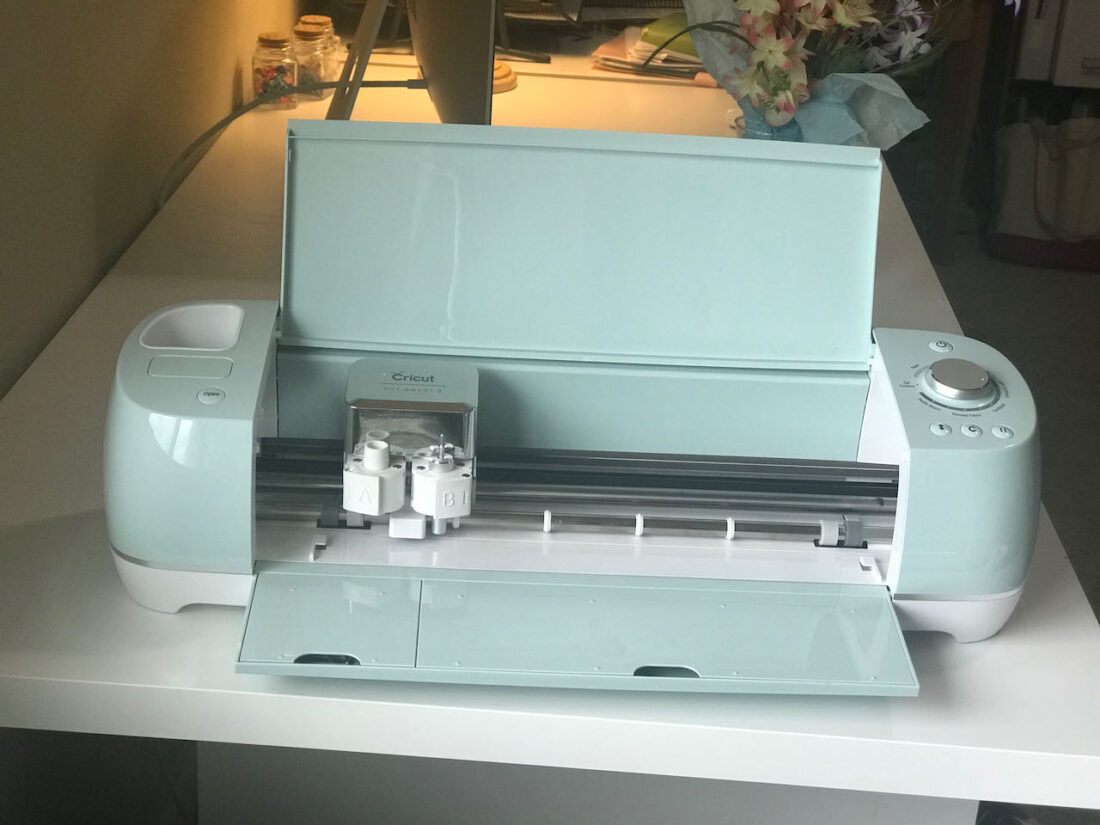
This die cutting machine uses proprietary software to direct the blades, scorers, or pens in your machine to duplicate the designs within the software.
Getting Started with Learning About your Cricut
Before you can get started with making your cards you're going to want to take a few tutorials on getting comfortable with your Cricut machine.
Since I've had my Cricut Explore Air 2 machine I've taken a class for using this machine and I'm always learning all the time.
Learning to use this machine effectively is the key for being confident in card making. Right now I'm still in the stage of using templates made by others for truly intricate card making but I hope to soon be designing my own.
Cricut has a learning section on their website with several resources mentioned. Head all the way to the bottom and spy the link to the YouTube series for 101 Cricut usage.
About the Cricut Access Software

The Cricut company also offers a service called Cricut Access that you can use with your machine.
With a paid Circuit Access account you have access to several Cricut member perks such as…
- discounts on products
- thousands of free designs to use
- hundreds of fonts
- and more.
You can pay for Cricut Access as a monthly subscription or save and purchase a full year.

I do not have a paid Cricut Access account and use I the Design Space software to upload and cut my designs.
Design Space is the software you need to use your Cricut Machine. This is true whether you have an Explore Air, Maker, or Joy. Design Space installs on your device (computer, tablet, phone) but you need an internet connection for your design to be sent to your machine.
You may want to consider this if you are looking into getting a Cricut Machine. I have a close friend with very spotty internet and this is a big deciding factor for her.

What Materials you need to make cards with a Cricut
There are a few things you'll want to have on hand to make the best cards you can. If you've made cards without a Cricut before you probably already have them on hand but still I'll list them below.
In order…
- Cricut Machine
- Quality Cardstock paper
- Glue Dots are a quick way to attach little embellishments to your cards without using liquid glue.
- Modge Podge. You might not use this with your cards but it is awesome stuff
- Pens to use for drawing in your Cricut Machine
- 333


I'm having fun learning about my Cricut and making cards and other things. I've used it for quite a few projects for other people surprisingly. It's been a blessing for me to have. Hopefully soon I'll have my own card designs to share with you. *wink
